
As all of us Witches do, I go through colored candles like they are wine and lately I have been finding it frustrating to find tall tapered candles in colors that are local. So I decided to brainstorm on how to make my own... and tada!! Abracadabra! I did! and they rock ;)
Mold Making
Step One:
Make a mold or find one.... I just happen to have a Castin' Craft Easy Mold making kit in my supplies shelf (no really I did! But it was so old I was not sure if they even sold it anymore!), I went to the local craft store and found a few more boxes of it and quickly brought those home. It took me months to work up the courage to give this a go! I knew with this stuff I had to be very quick in the process as it sets within a minute. Sorry for the blurriness, I was literally going so fast Bones couldn't catch a clear image. I took my putty mix and stretched it over two long tapers and two small intention tapers. Fully covered them, except for the tops.


For my next batch of candles I will be putting a small hole in the bottom of the molds to hold tight the wick and make for a straighter wick and hopefully a slower burn ;)


I also used pre-made wicks, which I will not be doing again. So expect to see a posting on how to make your own at home for when I do my next batch ;)
Candle Making
Step One:
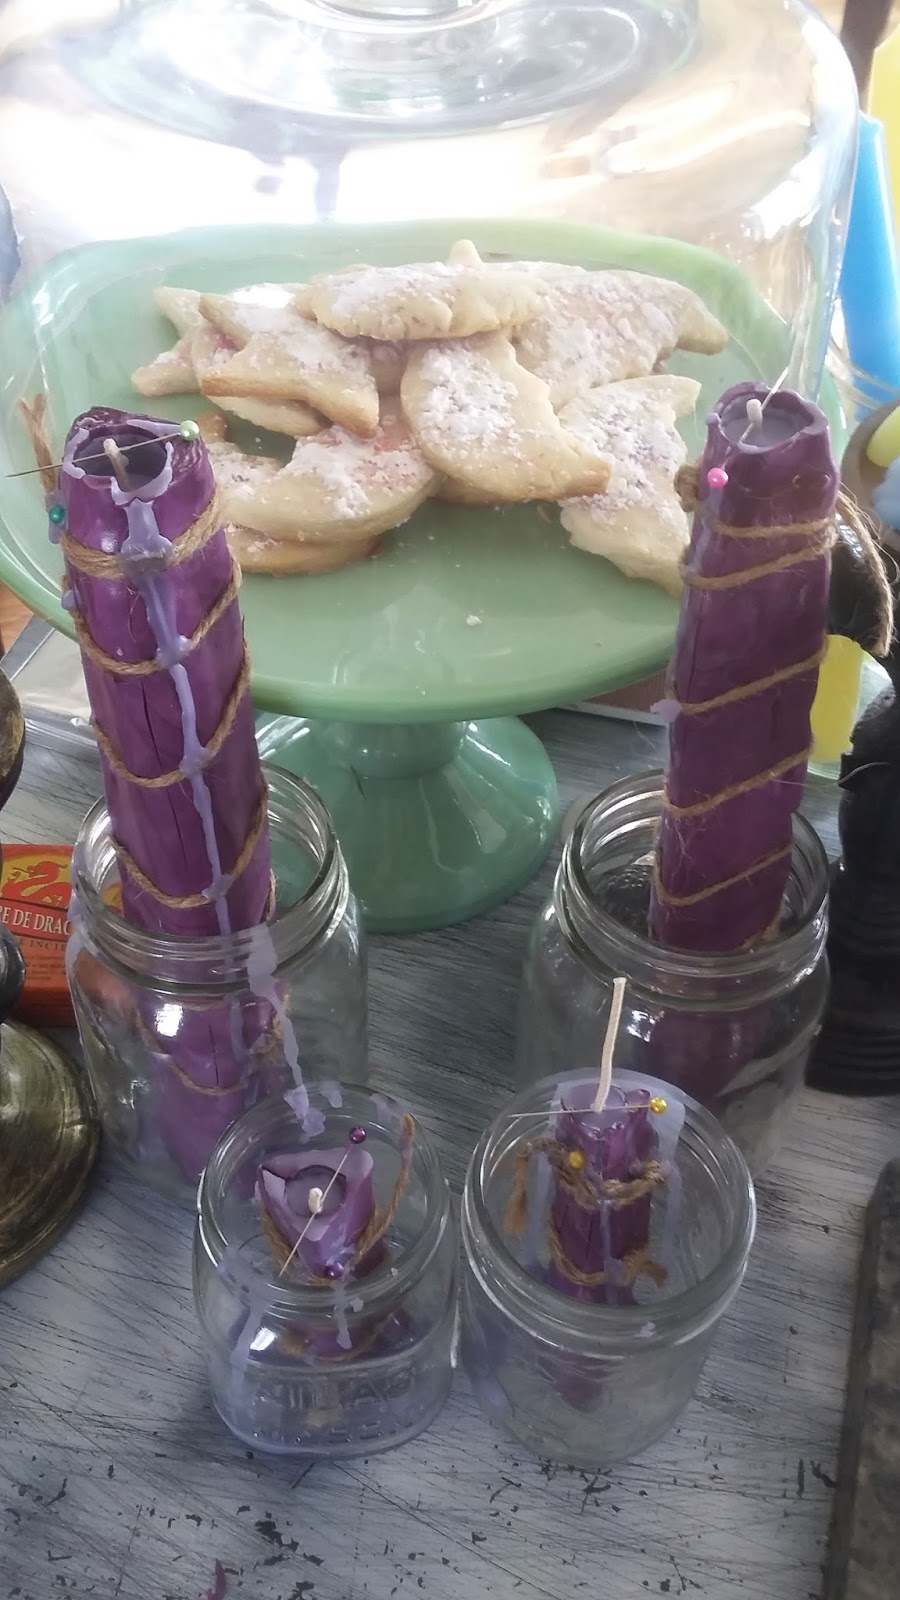
Take your wick and put a pin in sideways at the top to hold it above the mold (see above picture as well) Leave it a little extra long.

Step Two:
Weigh out 1 pound of beeswax and melt in a pot of boiling water.

Step Three:
Once it has melted down add 1/2 cup of coconut oil. And once again melt away. This makes for a soft candle, I may use less next time. I actually may not use it at all. I will update as I go.The candle holds up, but it feels a little soft and burns very fast.
Once all the wax has been fully melted choose a colored crayon and add to the wax and melt again. Food Coloring Does NOT work ;) it just clumps up. I chose one crayon my first go and will try two next time for a stronger color.

Pour your wax into the molds. I used a funnel and created a bit of a mess. The wax starts to set in the top of the jar as you pour, but you can always remelt the wax again so don't stress out.
I waited 24 hours for the wax to fully set before I pulled them out. These babies are kickass. I will never buy another taper candle again. I love the rough quality of my homemade ones. They are far from perfect, but they add huge magick to your home.


Peace and Love
The Bone Witch
Hag
No comments:
Post a Comment